 Skagit County
 New-Construction Windows Are a Different Job Than Replacement Windows
New-construction windows go into a stud-framed rough opening before siding, trim, and interior finish are in place. That's a different job than replacing an old window in an existing wall, and it changes what "correct" looks like. In new construction, the window installer isn't working around old caulk and existing trim — they're setting the standard that everything downstream depends on: the weather-resistive barrier (WRB), the flashing sequence, the siding, and eventually the interior drywall and trim. If the window goes in wrong at this stage, it doesn't show up as a leak next month. It shows up as rot inside the wall two or three winters from now, after the drywall and siding have already covered the mistake.
For homes being built or added onto in March Point, we treat new-construction window work as structural weatherproofing, not just carpentry. Skagit County's building department will check for flashing and code compliance at framing inspection, but a passed inspection isn't the same as a window detail that will hold up to decades of coastal weather. Those are two different bars, and we build to the second one.
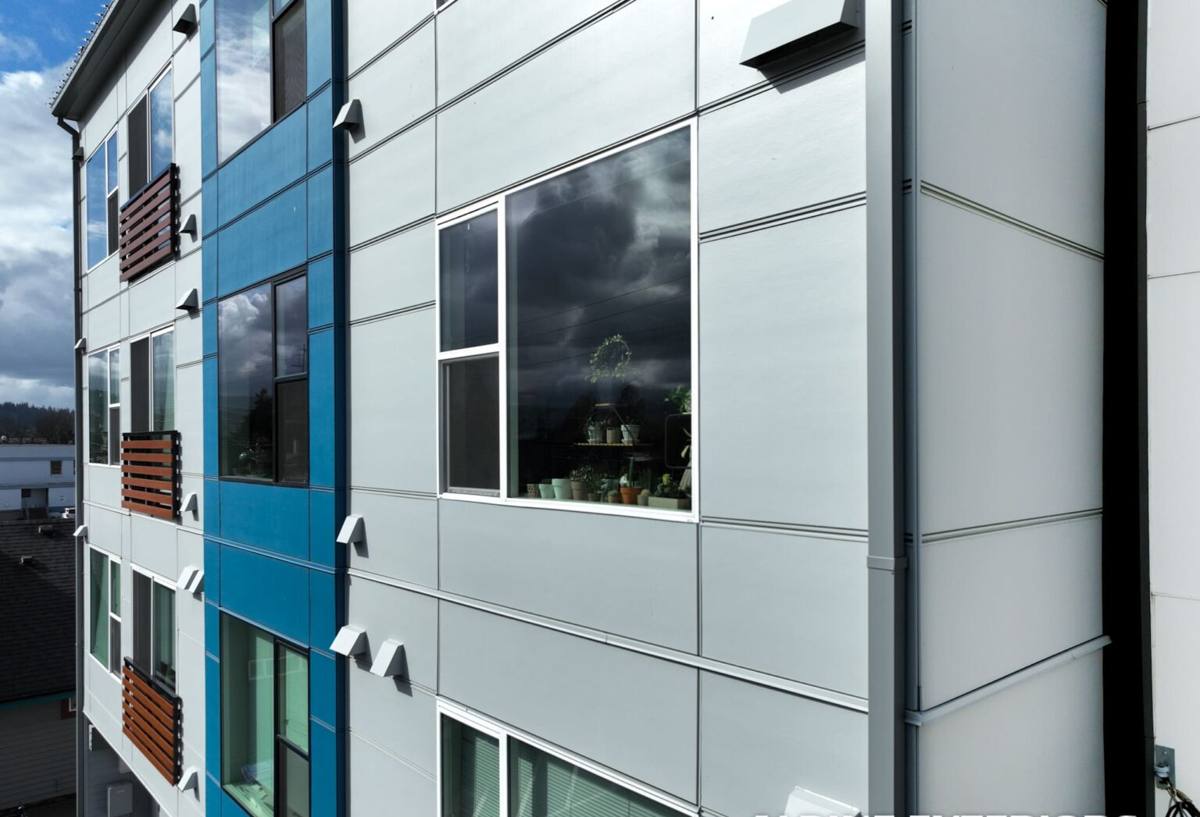
Why March Point's Climate Raises the Stakes
March Point sits out on the water, exposed to conditions that inland Skagit Valley homes don't deal with as directly. Salt air off the surrounding bay water accelerates corrosion on anything metal — fasteners, hinges, window hardware, and flashing that isn't rated for a marine-adjacent environment. Driving rain off open water hits walls at an angle instead of falling straight down, which means it can find its way under trim and behind siding that would stay dry in a more sheltered location. And the region's long, wet moss season keeps roofs, siding, and window sills damp for extended stretches, which gives any weak point in the water management system more time to do damage.
None of that means new-construction windows in March Point need to be complicated or exotic. It means the basics — flashing overlap direction, sill pan drainage, sealant selection, corrosion-resistant fasteners — have to be done right every time, with zero shortcuts. In a milder inland location, a mediocre install might go unnoticed for years. On a waterfront peninsula, weak details get exposed faster.
What This Looks Like in Practice
- Stainless steel or coated fasteners at window flanges, not standard galvanized, to resist salt-air corrosion
- Sill pan flashing with a back dam and forward slope so any water that gets past the window has somewhere to go besides the framing
- Sealants and tapes rated for the temperature and moisture range of a coastal Pacific Northwest job site, not generic caulk
- Extra attention to window head flashing on walls that face prevailing wind-driven rain
What a Correct New-Construction Window Install Involves
The window unit itself is only part of the job. The sequence around it is what actually keeps water out over the long run.
The Flashing Sequence, in Order
- Rough opening is checked for square, level, and correct size before anything else happens
- Sill pan flashing goes in first, with end dams and a slight slope to the exterior
- The window is set, shimmed level and plumb, and fastened per the manufacturer's schedule — not "close enough"
- Side flashing (jamb flashing) is applied over the nailing flange, integrated with the WRB below it
- Head flashing goes on last, lapping over the WRB above the window so water sheds down and over, never behind
- Housewrap or building paper is taped and lapped over all flashing edges before siding goes on
That order matters. Water management in a wall works like shingles on a roof — each layer has to lap over the one below it so gravity carries water outward and down, never into a seam. Get the sequence backward even once and you've built a funnel instead of a barrier, and it's the kind of mistake that's invisible until the siding comes off years later.
Inside the Wall
Once the window is set and flashed correctly, insulation around the frame needs to fill the gap without compressing it out of shape or leaving voids — both cause energy loss and, in a damp climate, can trap moisture against the frame. We use low-expansion foam or backer rod and sealant designed for window perimeters, not spray foam that overfills and bows the jamb.
Choosing Window Frame Material for a March Point Build
Frame material affects how a window handles salt air, moisture, and temperature swings over its lifespan. There's no single right answer for every project — it depends on budget, the home's design, and how exposed the specific wall is.
| Frame Material | Coastal Durability | Maintenance | Typical Fit |
|---|---|---|---|
| Vinyl | Good — won't corrode or rot, handles moisture well | Low; occasional cleaning | Most standard new-construction builds; strong value |
| Fiberglass | Very good — dimensionally stable, resists warping in temperature swings | Low | Homes wanting a stiffer, more paintable frame at a higher price point |
| Wood, clad exterior | Good exterior durability if cladding and flashing are correct; interior wood still needs protection from condensation | Moderate; watch for seal failure at cladding joints | Homeowners who want a wood interior look |
| Aluminum | Fair in a straight salt-air environment unless properly finished; conducts cold and can condensate | Moderate; watch hardware and finish over time | Specific architectural styles; less common for whole-house new construction here |
We don't push one brand or material on every job. What we push is correct installation regardless of what's chosen, because even a premium window performs poorly if the flashing behind it is wrong — and a mid-range window installed correctly will outlast a high-end window installed carelessly.
Energy Code and Performance in a Coastal Skagit County Build
Washington's energy code sets minimum U-factor and Solar Heat Gain Coefficient (SHGC) requirements for new construction, and those numbers matter more on an exposed site like March Point where wind and temperature swings off the water are more pronounced than in a sheltered inland lot. Beyond code minimums, a few practical things are worth planning for:
- Walls facing open water or prevailing wind benefit from tighter air-sealing at the window perimeter, not just a bigger flashing detail
- Larger picture windows or sliding units on exposed elevations need robust structural fastening — wind load isn't uniform across a peninsula site
- Low-E glass coatings help with both energy performance and reducing glare off open water
We coordinate window specs with whatever energy path the builder or homeowner is using for permitting, so the units ordered actually meet what's on the plans — re-ordering windows mid-build because of a code mismatch is an expensive and avoidable delay.
How We Coordinate with Builders and Other Trades
New-construction window work sits in the middle of a sequence involving the framer, the WRB/housewrap installer, the siding crew, and often the general contractor's schedule. Miscommunication here is where problems start — windows ordered to the wrong rough opening size, WRB installed before flashing details are planned, or siding crews covering flashing that wasn't fully lapped.
Our Coordination Points
- Verify rough opening sizes against actual window orders before install day, not after
- Walk the flashing plan with the GC or homeowner before the WRB goes on, so there's no guessing about lap direction at transitions
- Photograph flashing and sill pan details before they're covered by siding, for the homeowner's and builder's records
- Confirm inspection timing so flashing work isn't buried before the county has a chance to look at it, if that's required on the permit
Our Process for a March Point New-Construction Window Job
Most new-construction window jobs in March Point follow the same basic path, adjusted for the size of the build:
- Plan review and takeoff — we confirm window sizes, styles, and performance specs against the building plans and energy code path
- Ordering — units are ordered with enough lead time to avoid holding up the framing schedule
- Site coordination — we confirm rough openings are framed correctly before install day
- Install and flashing — sill pan, window set, side and head flashing, WRB integration, all in sequence
- Documentation — photos of flashing details before they're covered
- Final check — operation, seal, and trim-out coordination once siding and interior finish are underway
Why Hiring a Crew That Already Works March Point Matters
March Point isn't a large area, but its waterfront exposure is meaningfully different from inland Skagit County lots. A crew that mostly works sheltered subdivisions may default to standard flashing details that are adequate most places but undersized for a site taking direct salt air and driving rain. We've done exterior work across Skagit County long enough to know which walls on a peninsula site need the extra flashing lap, which fastener grade actually holds up out here, and how the long moss season affects sill drainage if it's not detailed with a real slope. That's not a marketing point — it's the difference between a window that's dry in year one and one that's still dry in year fifteen.
Before Your Windows Go In: A Homeowner's Checklist
- Confirm the window brand, frame material, and glass package match what's on your energy code documentation
- Ask what fastener and flashing tape materials will be used, and whether they're rated for coastal/marine exposure
- Confirm sill pan flashing with a back dam is part of the install — not just tape over the rough sill
- Ask to see photos of flashing before siding covers it
- Confirm who is responsible for sequencing with the WRB and siding crews so nothing gets covered out of order
- Check that rough openings were verified against actual window sizes before ordering
If you're planning new construction or an addition in March Point and want windows installed by a crew that understands what this stretch of Skagit County actually throws at a building envelope, we're happy to walk your plans and give you a straightforward, no-pressure estimate using the form below.