 Skagit County
 Building New in Alger Means Getting the Window Install Right the First Time
Alger sits close enough to Samish Bay and the open water of the Salish Sea that new construction here has to answer to a different set of conditions than a build further inland in the Skagit Valley. If you're framing a new home or outbuilding in or around Alger, the window installation is one of the few steps in the entire build that you genuinely cannot go back and fix later without tearing into siding, trim, and interior finish. Get the flashing and integration wrong at rough-in, and the consequences show up as rot and staining two, five, or ten years down the road — long after the crew that installed them is gone.
New-construction window installation is a different job than replacing a window in an existing wall. It happens before siding goes on, while the wall is still open to the weather-resistant barrier, which means it's also the point where a contractor has the best possible access to do the flashing and sealing correctly — or the easiest opportunity to cut a corner nobody will see until it's too late.
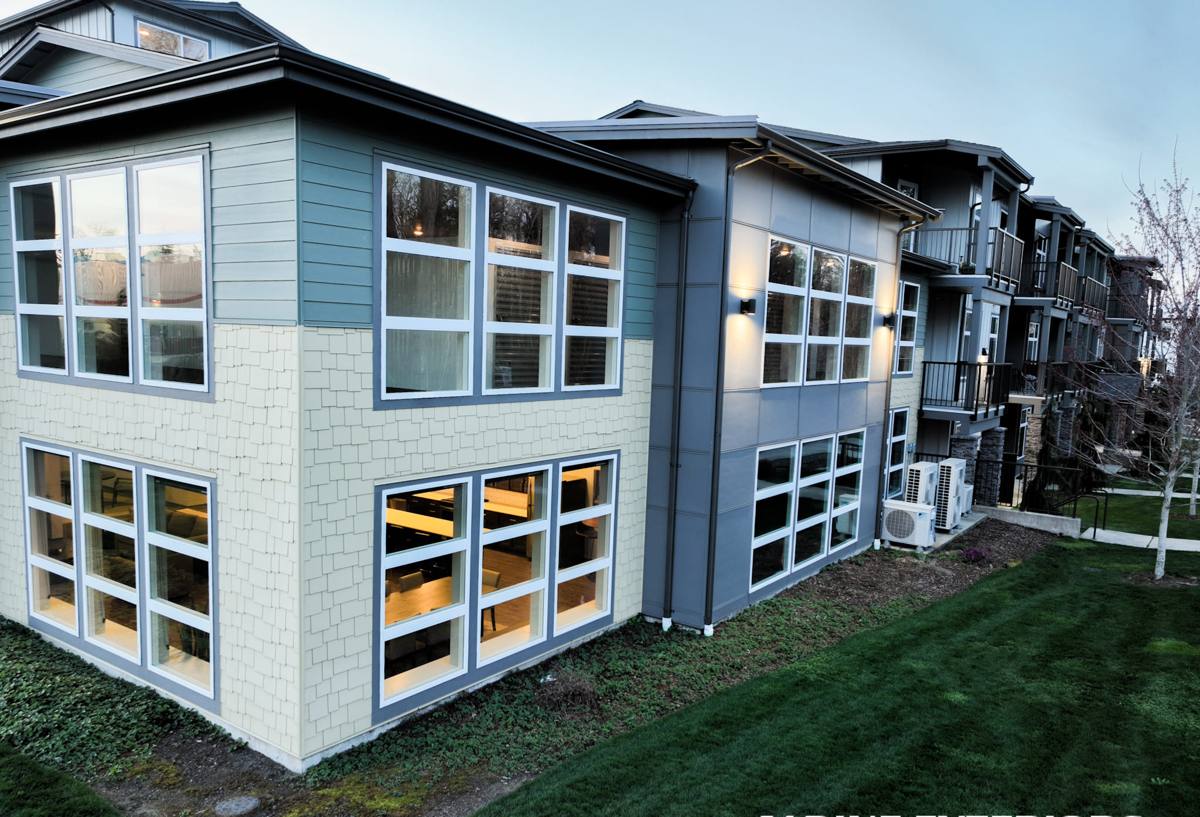
What Salt Air, Driving Rain, and Moss Season Do to a New Build
Skagit County's coastal-adjacent stretch, Alger included, deals with a combination of stressors that a lot of generic window-installation guidance simply doesn't address:
- Salt air off Samish Bay accelerates corrosion on exposed fasteners, hinges, and lower-grade cladding hardware. Materials and fastener specs that are fine forty miles inland can fail early this close to the water.
- Driving rain — wind-driven rather than straight-down — pushes water sideways into any gap in the flashing plane, not just under the sill. A sill pan alone doesn't solve this; the head and side flashing have to shed water in the right sequence.
- Long moss season means extended stretches of damp, low-sun conditions where any trapped moisture in the wall assembly has little chance to dry out. A flashing mistake that would dry out in a drier climate stays wet here for months at a time.
None of this is exotic engineering — it's standard building science — but it means there's very little margin for skipping steps. A new-construction window opening in Alger needs to be built to shed water outward and downward at every layer, with no reliance on caulk alone to do the job.
New-Construction Windows vs. Replacement Windows: Why the Method Is Different
People sometimes assume "installing a window" is one job. It isn't. New-construction windows have a nailing fin (or flange) around the perimeter that gets integrated directly into the wall's weather-resistant barrier and flashing system before siding is installed. Replacement windows, by contrast, are usually installed into an existing frame with the exterior cladding already in place, using a different set of techniques (flush-fin, block-frame, or insert methods).
Because a new build gives full access to the rough opening, the standards for a correct install are higher — there's no excuse for skipping steps that aren't accessible on a retrofit job. That's also why a crew that's competent at replacement work isn't automatically competent at new-construction rough-in. The sequencing, the flashing tape and pan integration, and the coordination with the siding and WRB installers are a different skill set.
What "Correct" Actually Means Here
A properly installed new-construction window in a coastal Skagit County build follows a specific water-management sequence, generally in this order:
- Rough opening is checked for level, plumb, and square before anything is installed.
- A sloped sill pan is installed at the bottom of the opening so any water that gets past the window drains back out, not into the wall cavity.
- Weather-resistant barrier (house wrap) is lapped correctly at the opening — bottom first, sides next, top last — so water always sheds over the layer below it, never under it.
- The window is set into the opening, shimmed level and plumb, and fastened per the manufacturer's specified fastening schedule.
- The nailing fin is sealed and flashed with compatible flashing tape at the sides and head, integrated into the WRB in the correct shingle-lap order.
- A drip cap or head flashing is installed above the window to break the flow of water before it reaches the top of the frame.
- Interior and exterior sealant joints are backed and sized correctly — sealant is the last line of defense, not the first.
Skip step 2 or get the lapping order in step 3 backwards, and you can install a $1,200 window perfectly and still have it leak. This is where most window failures in new construction actually originate — not from a bad window, but from a bad opening.
Choosing Windows for an Alger Build
Frame material matters more here than it does in a dry inland climate, mostly because of the salt air and sustained moisture exposure. There's no single "best" answer for every project — it depends on budget, architectural style, and how exposed the elevation is to weather off the bay.
| Frame Material | Coastal/Moisture Performance | Maintenance | Typical Fit |
|---|---|---|---|
| Vinyl | Good — won't corrode or rot, handles moist air well | Low | Cost-conscious new builds, rentals, spec homes |
| Fiberglass | Excellent — very stable, resists warping and salt exposure | Low | Custom homes, higher-exposure elevations facing the bay |
| Wood (clad exterior) | Good if exterior cladding is intact and maintained; interior wood needs protection from condensation | Moderate to high | Traditional or high-end architectural styles |
| Aluminum | Prone to corrosion in salt air unless marine-grade and well-finished; also a poor thermal performer here | Moderate | Rarely our first recommendation for this area — we'll explain why on a site visit |
For most new-construction projects in Alger, we steer homeowners and builders toward vinyl or fiberglass for the balance of moisture resistance, low maintenance, and cost. That's a professional recommendation based on how these materials hold up to salt air and sustained rain exposure over decades, not a knock on any specific manufacturer.
Our Process on a New-Construction Job
Whether we're working directly with a homeowner building their own place or brought in by a general contractor as the window and exterior subcontractor, the process stays consistent:
1. Plan Review and Product Selection
We look at the building plans, the elevations most exposed to weather off the bay, and help select frame material, glazing package, and sizing that fit the budget and the site.
2. Rough Opening Coordination
We coordinate with the framer and WRB installer so openings are sized and sequenced correctly before we ever show up with a window. This step gets skipped more often than people realize, and it's where a lot of avoidable problems start.
3. Installation and Flashing
We install to the manufacturer's fastening and flashing specifications, using sill pans and flashing tape suited to the exposure level of each elevation — a wall facing prevailing wind and rain off the bay gets treated more conservatively than a sheltered wall.
4. Documentation and Walkthrough
We walk the openings with the homeowner or GC before siding closes everything up, since that's the last point anyone can visually confirm the flashing was done right.
What to Check Before You Hire Anyone for New-Construction Window Work
- Do they install a sloped sill pan on every opening, not just "when it seems necessary"?
- Can they explain their WRB lapping sequence without hesitating?
- Do they use flashing tape that's compatible with the specific house wrap and window manufacturer on your job?
- Are they willing to coordinate directly with your framer or siding crew, or do they work in isolation?
- Do they carry current licensing and insurance appropriate for exterior construction work in Washington?
- Will they walk the rough openings with you before siding closes them up?
Cost Factors for New-Construction Window Installation
Every build is different, but the line items that actually move the price on a new-construction window package are consistent:
| Factor | Why It Matters |
|---|---|
| Number and size of openings | More openings and larger units mean more labor and material, straightforwardly |
| Frame material | Vinyl is typically the most budget-friendly; fiberglass and clad wood cost more up front but may cost less over the life of the home in a coastal climate |
| Elevation exposure | Walls facing prevailing wind and rain off Samish Bay often warrant more robust flashing details, which adds labor time |
| Glazing package | Impact-rated, higher-performance, or triple-pane glass costs more than standard dual-pane units |
| Access and site conditions | Multi-story builds or difficult site access add time and sometimes equipment costs |
| Coordination complexity | Jobs where we're working tightly with a GC's schedule on a live build site take more planning than a standalone project |
Why a Crew That Already Works Alger Matters
General contractors and homeowners building in Alger benefit from working with a window crew that already understands what this specific stretch of Skagit County throws at a building envelope. That's not a marketing line — it changes real decisions on site: how conservative to get with flashing on a bay-facing elevation, which frame materials are worth the extra cost here versus a drier location, and how to sequence work so a long stretch of fall or winter rain doesn't catch an open wall mid-install. A crew that's only ever worked inland jobs may not think twice about details that matter a great deal on a Samish Bay-adjacent lot.
We also know the practical side of building here: permitting through Skagit County, working around the area's wetter months, and coordinating with the other trades typically involved in a new build in this part of the county.
Get a Straightforward Estimate
If you're planning a new build in Alger, or you're a general contractor looking for a window subcontractor who understands the local exposure conditions, we're glad to walk the plans with you and give you a straightforward estimate — no pressure, no upsell. Use the form below to get started.