 Skagit County
 Siding Installation in Lyman: A Skagit River Valley Job, Not a Generic One
Lyman sits up the Skagit River valley, tucked against the forested foothills that lead into the North Cascades. That location shapes what siding has to survive here. Homes in Lyman deal with more standing moisture in the air than towns closer to open water, more shade from surrounding trees and hillsides, and a longer stretch of the year where wood surfaces simply don't dry out between rain events. Add in the salt-tinged, moisture-loaded air that moves up the Skagit County lowlands from Puget Sound, and you get a climate that is genuinely hard on exterior building materials — harder than most manufacturers' marketing photos let on.
This page is specifically about siding installation for Lyman homes — not a generic "siding 101" page. If you're comparing materials, getting quotes, or trying to figure out why your current siding is failing years ahead of schedule, this is written for your actual situation.
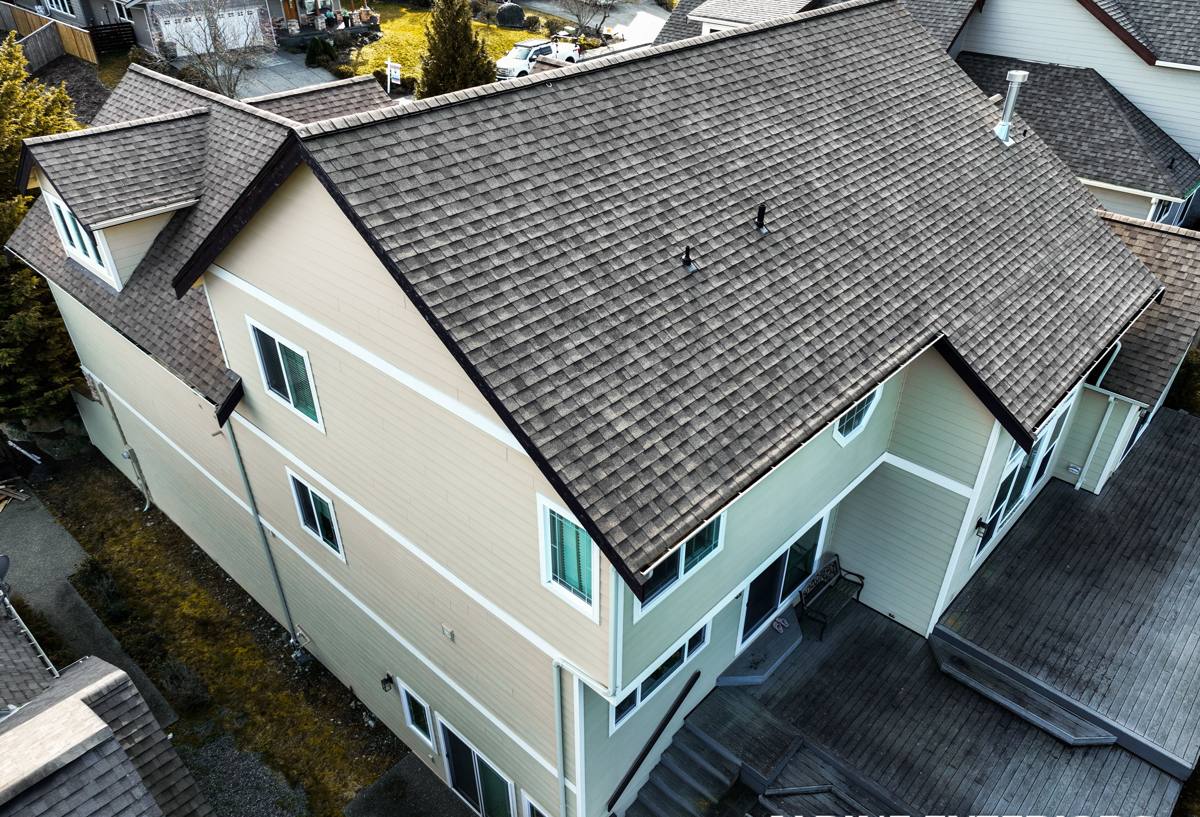
What Actually Wears Out Siding in Lyman
Driving Rain and Standing Moisture
Skagit County gets a lot of rain, but volume isn't the whole story — duration and wind-driven angle matter more. Rain that hits a wall at an angle, driven by wind funneling through the river valley, gets forced behind loose trim, into end-grain cuts, and under poorly lapped siding courses. Once moisture gets behind the siding plane, it doesn't dry quickly in a valley setting with limited direct sun and higher ambient humidity than open coastal towns.
Moss, Algae, and a Long Growing Season
Shaded lots and tree cover — common around Lyman — mean north- and west-facing walls can stay damp for days after a storm. That's exactly the environment moss and algae need. On absorbent or poorly sealed siding, that growth isn't just cosmetic — it holds moisture against the wall surface and accelerates rot underneath if the substrate isn't protected.
Temperature Swings and Material Movement
Valley towns like Lyman see wider daily temperature swings than the immediate coast — cooler nights, warmer afternoons in summer. Siding materials that expand and contract more than fiber cement (vinyl in particular) can loosen fasteners, warp, or develop visible waviness over time, especially on sun-exposed south and west walls.
Why We Install James Hardie Fiber Cement — And Nothing Else
We standardized on James Hardie fiber cement siding for every home we work on in Skagit County, including Lyman, and we don't install vinyl, LP SmartSide, Cemplank, Allura, primed spruce, or raw cedar. That's not a marketing position — it's a decision built around what actually holds up in this climate over 20-plus years, not just the first five.
| Material | How it handles Lyman's moisture and moss | Long-term concern |
|---|---|---|
| James Hardie fiber cement | Non-combustible, dimensionally stable, factory-baked ColorPlus finish resists moisture absorption and moss adhesion better than raw wood surfaces | Requires correct installation to spec — the material is only as good as the crew installing it |
| Vinyl siding | Sheds surface water but expands/contracts with temperature swings; seams and laps can allow moisture intrusion behind the panel | Can warp or crack in cold snaps; color fades faster under UV over decades |
| LP SmartSide (engineered wood) | Wood-based substrate is more moisture-sensitive than fiber cement; relies heavily on caulking, paint maintenance, and cut-edge sealing to stay watertight | Edge and cut-end swelling if maintenance lapses in a wet climate |
| Cedar / primed spruce | Natural wood absorbs moisture readily and is a food source for moss/algae without diligent, repeated maintenance | Highest ongoing maintenance burden; repainting and sealing on a recurring cycle |
Hardie's HZ5 product line is engineered specifically for climates like ours — Pacific Northwest moisture exposure — with a moisture barrier and finish system designed to resist damage from prolonged wet exposure. Combined with a factory-applied ColorPlus finish (rather than field-applied paint), it holds color and resists the chalking and peeling that field-painted materials eventually show in a climate this wet.
What a Correct Installation Actually Involves
Water Management Comes Before the Siding
The siding itself is the least important part of keeping water out of a wall — flashing, weather-resistant barrier, and proper laps are what actually do the work. Around every window, door, and penetration, flashing has to be installed and sequenced correctly — water has to be directed out and down, never trapped behind the cladding. This is the step that gets rushed on cheap jobs and is the single biggest cause of hidden rot we find when we tear off old siding.
Fastening and Clearances
James Hardie publishes specific fastener spacing, nailing patterns, and minimum clearances from grade, roofing, and decks for every product line. Ignoring those specs — over-driving nails, fastening too close to panel edges, or leaving no gap at grade — voids the manufacturer warranty and creates the exact moisture entry points the material was designed to avoid.
Caulking and Joint Treatment
Butt joints and trim intersections need to be treated correctly, not just caulked and hoped for. In a climate where a joint might stay wet for days at a stretch, a poorly sealed or unsealed joint is a slow, invisible failure point — one that often doesn't show up as a problem until the sheathing underneath is already compromised.
Our Installation Process for Lyman Homes
- On-site assessment: We walk the exterior, check for existing moisture damage, evaluate current siding and sheathing condition, and note shaded or exposure-heavy walls that need extra attention.
- Tear-off and sheathing check: Old siding comes off and we inspect the sheathing underneath before anything new goes up — this is where hidden rot from a prior installation typically surfaces.
- Weather-resistant barrier and flashing: Correctly lapped house wrap and flashing at every penetration, installed before a single piece of siding goes on.
- Hardie installation to manufacturer spec: Fastener spacing, clearances, and joint treatment follow James Hardie's published installation requirements — not shortcuts.
- Final walkthrough: We review the completed work with you, point out anything you should watch for over the coming seasons, and confirm cleanup is done.
Why Hiring a Crew That Already Works Skagit County Matters
Siding installation isn't uniform across climates, and a crew that mostly works drier inland areas will make different (wrong) assumptions about drying time, moisture barriers, and joint sealing than a crew that installs in the Skagit River valley every week. Local experience means knowing which walls in a river-valley setting need extra flashing attention, how much clearance to leave at grade given typical winter ground saturation, and what moss and algae exposure actually does to different materials over a full Skagit County wet season — not just what a spec sheet says in theory.
It also means understanding permitting and inspection expectations in Skagit County, showing up with proper licensing and insurance, and being reachable locally if a warranty question comes up years down the road — not routed through a call center for a national franchise that subcontracted the actual labor.
Maintenance After Installation
Correctly installed James Hardie siding is low-maintenance compared to wood or engineered wood alternatives, but "low-maintenance" doesn't mean "no maintenance" — especially in a moss-prone valley climate. A short annual routine keeps it performing the way it's supposed to:
- Rinse siding annually (garden hose pressure, not a pressure washer) to clear moss spores and organic buildup before they take hold, especially on shaded north and west walls
- Keep gutters clear so overflow doesn't run down the siding face or pool at the base of walls
- Trim back vegetation and tree limbs that keep siding shaded and damp longer than necessary
- Check caulked joints and trim intersections every couple of years for cracking or separation
- Watch for any staining or discoloration at the bottom courses near grade — an early sign of splashback or drainage issues, not a siding defect
- Repaint or refinish trim boards on their own maintenance cycle, separate from the ColorPlus-finished siding field
What Affects the Cost of a Siding Installation in Lyman
| Factor | Why it matters here |
|---|---|
| Home size and wall complexity | More corners, dormers, and trim details mean more cutting, flashing, and labor time |
| Condition of existing sheathing | Hidden rot found during tear-off (common on older river-valley homes) adds repair scope before new siding can go on |
| Access and site conditions | Wooded or sloped Lyman-area lots can affect staging, scaffolding, and material handling |
| Product line and profile | Hardie offers multiple plank profiles, panel styles, and trim options at different price points within the same durable system |
| Removal and disposal of old siding | Full tear-off of failing wood or vinyl siding adds labor and disposal cost versus a bare-wall install |
We don't quote siding jobs off a phone call — every estimate starts with an in-person look at the specific walls, exposure, and existing condition of your home, because those are the variables that actually determine cost, not a flat per-square-foot number pulled from a national average.
Get a Free Estimate for Your Lyman Home
If your current siding is showing moss buildup, soft spots, peeling paint, or you're just planning ahead for a replacement, we're happy to take a look and give you a straight answer — no pressure, no inflated first quote to negotiate down from. Use the form below to request a free estimate for siding installation in Lyman.